
Sourdough
My Genesis of Bread: A Beginner's Sourdough Bread Recipe
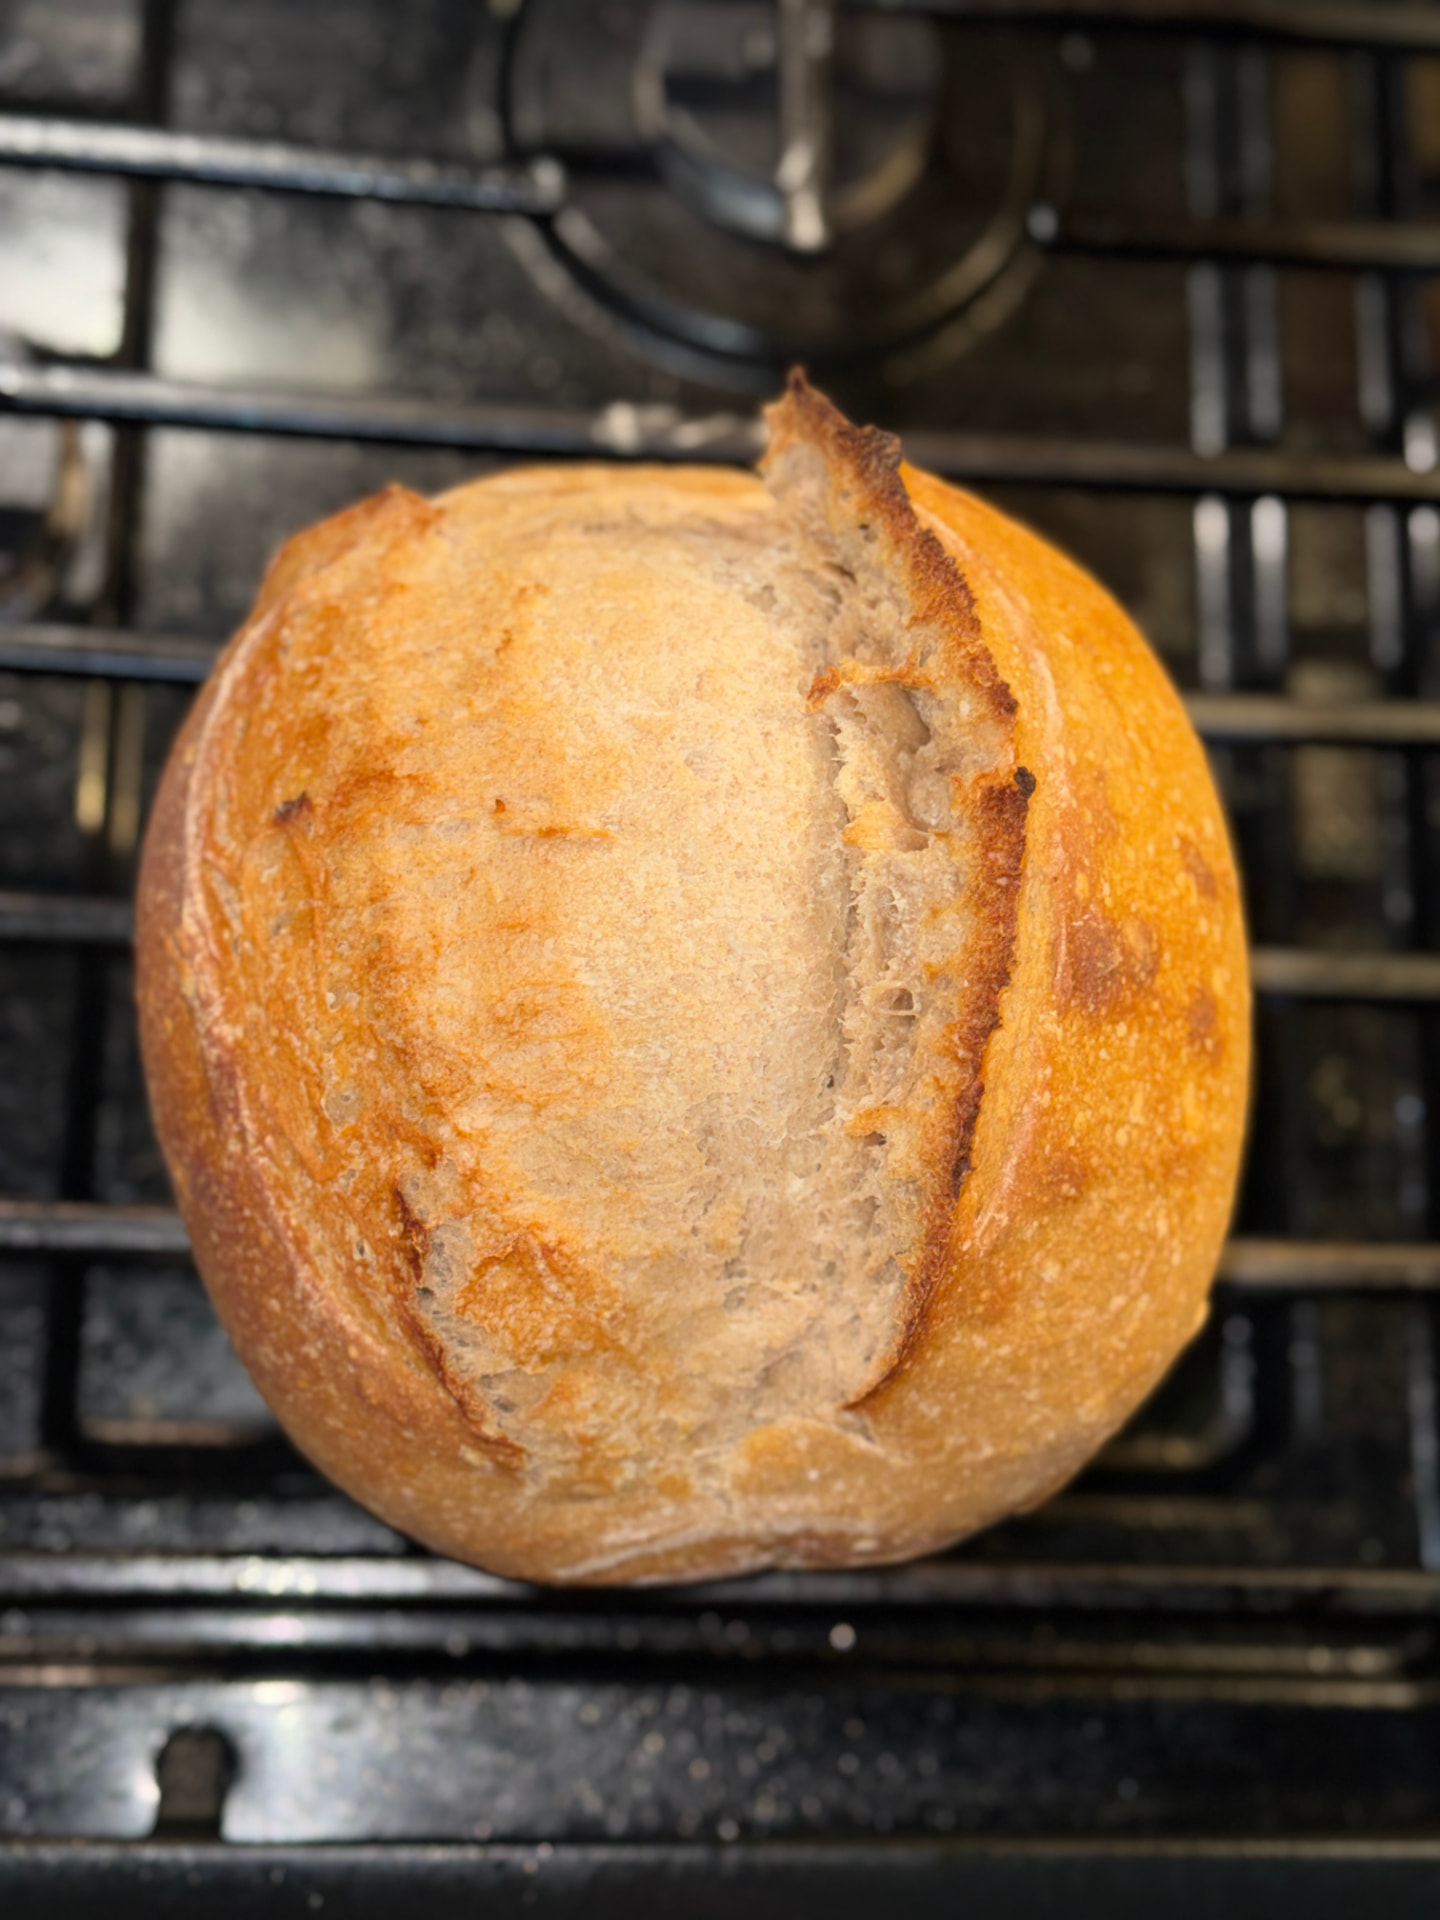
A good sourdough loaf is mostly patience with a little flour thrown in. There are many ways to do it right and wrong. It takes time to figure out what works for you. In fact, my first month of making sourdough loaves they all turned out hard, dense, and/or gummy. They were painfully edible, I'm grateful that my husband was a good sport.
December 5, 2025, I attempted my first loaf but didn't finish because the dough was too sticky. I threw everything away and made a second attempt the next day. I was discouraged but determined somehow. My second attempt, I cut the dough in half, so I ended up with two loaves. Here are the results of those loaves:
First loaf: A Hard-crusted, dense loaf that was edible but neither I nor my husband wanted to endure the struggle of chewing bricks.
Second loaf: It didn’t have the pretty oven spring I desired, nor was it flavorful. Very bland and basic if you ask me. But it was soft, the inside had nice open crumbs, and it was easy on the teeth. At least we could eat that one.
Here’s the thing, I baked the first loaf at 450 degrees because that is what was instructed for me to do. For the second loaf, I got distracted accidentally baked it at 425 degrees. Now remember, the first loaf we couldn’t eat but the second one we could. That simple “mistake” taught me my first lesson. It taught me what MY standard oven temperature should be for all my loaves. From that on I baked at my new standard temperature, but my loaves were still coming out dense. I made two more changes; I replaced the starter I was gifted with a 900-year-old Dutch starter that I bought off Amazon. The second change I made was buying King Arthur’s Rye Bread Flour to my dough recipe and feeding my starter with it.
By January 20, 2026 I was on the roll making beautiful, soft, crumby loaves. Even though the oven spring was not there, the loaves were still flavorful and so soft. I had made up my mind to not care about what the loaf looked like but to instead enjoy that it’s good. By April 28th, that beautiful oven spring happened... on a loaf that I forgot to score! Talk about letting go and letting God! I did not do anything different since the changes I made, the oven spring just happened.
I tell you this story so that you may know my Genesis of Sourdough, and even though it didn’t start off perfectly… those mistakes and changes got me to where I need to be. That is why I say there are many right and wrong ways to do sourdough but do NOT be afraid to start somewhere. You will always work your way up and find out what works for you. My advice is to always start with the basics and then advance to more complex ingredients like I did. God bless.
Beginner's Sourdough Bread Recipe
Prep
2 hours
Cook
40 minutes
Additional
19 hours 20 minutes
Total
22 hours
Servings
12
Ingredients
- 500 grams of all purpose or bread flour
- 350 grams of water
- 150 grams of active sourdough starter
- 15 grams of salt
Instructions
- 1Feed your sourdough starter 4–8 hours before beginning this sourdough baking process, making sure it is active, bubbly, and has at least doubled in volume.
- 2In a large mixing bowl, combine 350 grams of warm water, 150 grams of active starter, 500 grams of flour, and 15 grams of salt. Mix with a dough whisk, wooden spoon, or your hands until there is no dry flour left. A shaggy dough should form.
- 3Cover the bowl with plastic wrap or a lid and let the dough rest for 1 hour so the water can fully hydrate the flour.
- 4After the rest period, uncover the bowl and grab the outer edge of the dough and pull it upwards towards you. Place dough that you just pulled upwards into the center of the dough ball. Turn the bowl about a quarter turn and grab another corner edge of the dough to stretch it again. Repeat the stretch until every edge of the dough has been stretched. Once you are done, cover the bowl again. That is considered your first stretch and fold round. Repeat this process two more times, with 30 minutes of rest in between each. (Tip: Wet your hands to keep the dough from sticking so much to them or wear wear gloves.)
- 5Cover with a lid, damp towel, or plastic wrap. Let the dough bulk ferment in a warm place until it has doubled in size. This could be anywhere from 6-12 hours (or longer) depending on the temperature of your kitchen, maturity of your starter, etc. Be careful not to let it over ferment.
- 6Place the dough on a clean work surface that has been lightly dusted with flour. Fold the dough onto itself and roll up. Then shape into a ball by gently spinning it toward you.
- 7Preheat your oven to 425 degrees or 450 degrees. (Depends on what works for your oven, if it is your first time I recommend the lower setting.)
- 8Remove dough from the fridge right before baking. Place dough on a piece of parchment paper.
- 9Dust with flour, if desired, and score with lame or razor blade. I like to do one large score (called an expansion score) and then a cute design for the other score.
- 10Carefully, transfer the piece of parchment paper with the dough into the hot dutch oven. Careful not to burn your fingers.
- 11Place the lid back on and place the dutch oven into the hot oven. Bake for 20 minutes.
- 12Gently turn the dough out onto a lightly floured surface and pre-shape it into a taut round. Let it rest for 20–30 minutes, seam-side down.
- 13Remove the lid with oven mitts, and bake an additional 15-25 minutes or until golden brown. If you bake it at 450 degrees, reduce the temp to 425 degrees at this time.
- 14Turn the baked loaf out onto a wire rack and let it cool completely before slicing — at least 1 hour, even if the kitchen smells irresistible.